Pippit AI offers both video text editing and an image font changer. The video route edits text over a clip; the illustrated image route below creates a still graphic, such as a title card.
The Power of Typography in Digital Captions
Typography includes the shape of the letters, their size and the space around them. A narrow script may suit a two-word title but become difficult to follow in a full sentence.
A good layout pays attention to contrast, alignment and spacing. Leave enough room for the caption to wrap without covering the subject.
Pippit's Text Controls for Caption Design
Font, size, color and position are the main choices. Pippit also documents outlines, shadows and other text effects. A thin outline can separate pale letters from a light background; a heavy glow can obscure their edges.
Frame the text for its destination. A horizontal layout may need moving or resizing for a vertical Facebook reel.
Choosing a Font Style for Your Caption
Sans-serif lettering is a straightforward starting point for spoken captions. Retro or handwritten styles can give a short title a different character. Try the actual words: a font that looks good in a sample can become crowded with a longer name.
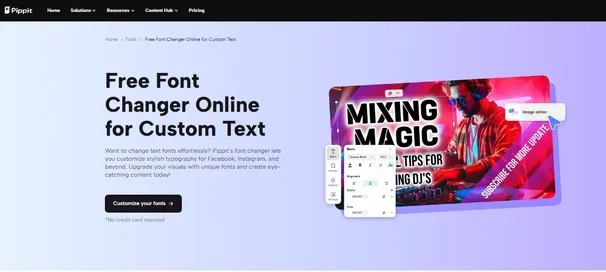
The font changer online page demonstrates image text editing. Its templates are useful for a poster or a still title card, rather than for timing subtitles to speech.
How to Change Font Styles with Pippit
For text over a video
Use Pippit's video text editor for this workflow:
- Open Video editor from Video generator and import the clip.
- Add a text layer through Text, or select an existing editable layer. Change its font and size, then set its position and when it appears.
- Play the passage containing the text, then export the video with the settings you need.
For speech subtitles, Auto captions creates text you can edit. Pippit's subtitle editor guide covers styling and timing.
Words already baked into a finished video are pixels, not an editable font layer. Return to the original project to change that lettering directly.
For a still title card or graphic
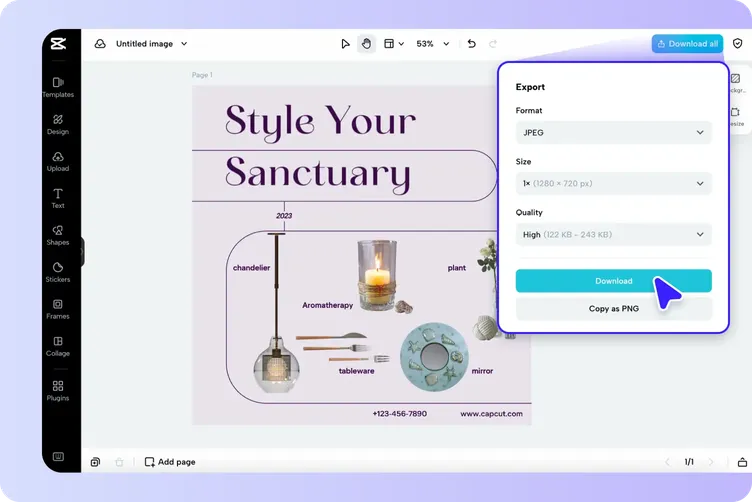
The following screenshots show the image editor. This route exports an image that you can later place in a video project.
Step 1: Open an image or template
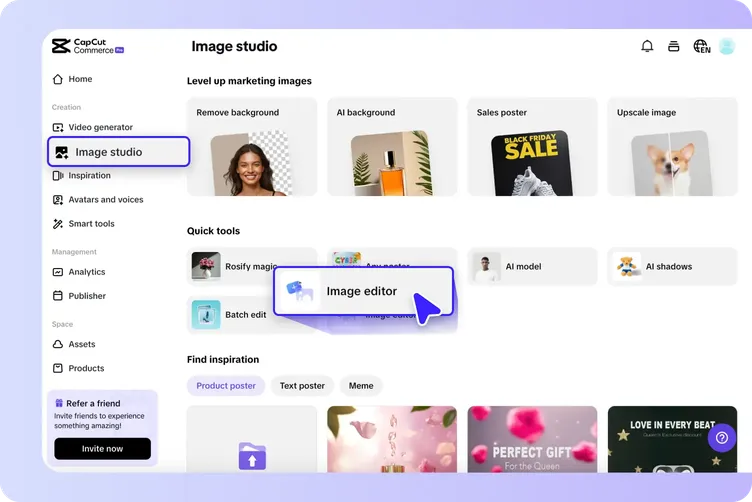
In Image Studio, choose Image editor from Quick Tools. Import a background or choose a template with editable text.
Step 2: Set the lettering
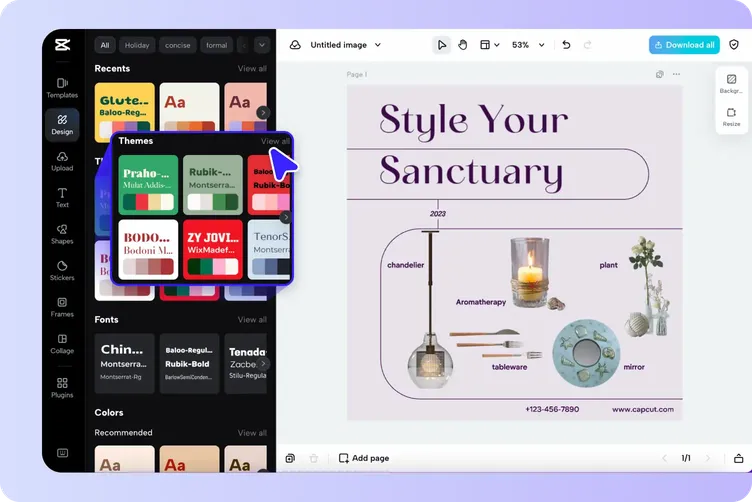
Select the template's text or add a text box. The Design panel groups themes and font choices; the text controls let you adjust the lettering and spacing.
Step 3: Download the graphic
Use Download all to open the export panel. Choose the image format and dimensions, then download the file.
Common Caption Use Cases
- A quote: Keep the speaker's name separate from the quoted words.
- An announcement: Give the event name priority, with the date and location beneath it.
- A call to action: Make the requested action explicit. “Book a place” says more than an oversized exclamation mark.
Last Words
Save the editable project as well as the export. Changing a date or a name next week is much easier when the words still have their own text layer.
Related Post: Color Choices for Subtitles