AI-assisted editing can help assemble a first cut, but cleaning an existing timeline still involves deciding which clips, captions and audio to keep.
Not every video gets submitted to an art festival, so it's great news that there's an option for a video of social media content that doesn't take hours of work.
CapCut PC provides split, trim and delete controls for removing unwanted material. The steps below focus on organizing the timeline you already have.
Why Clean a Cluttered Timeline?
A crowded timeline makes it harder to locate a caption, find an audio clip or spot overlapping material. Removing unused segments and arranging the remaining clips makes later adjustments easier to follow.
If you add narration with CapCut’s text to speech tool, keep its audio aligned with the scene it describes.
CapCut PC: A Quick Solution for Timeline Cleanup
CapCut PC lets you select, split, move and delete clips. Its desktop editing guide documents these basic controls.
CapCut also documents Auto Cut, which can assemble footage around audio or a script where available. It is a separate workflow from manually cleaning an existing timeline.
Optional tools such as the AI video generator are separate from the trimming and arranging tasks below. Check the feature’s current access and any payment prompt in your version.
Steps on How to Clean a Cluttered Timeline
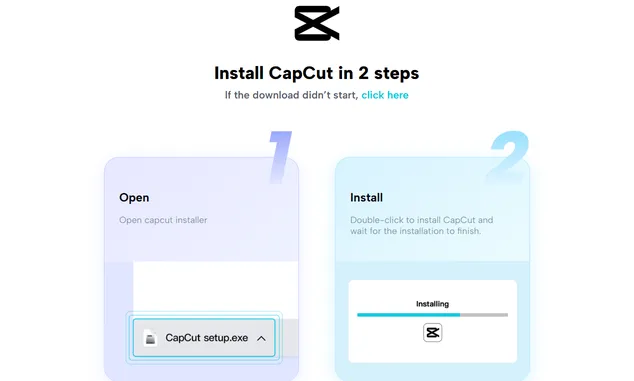
Step 1: Download and Install CapCut PC
- Go to the official CapCut PC website
- Click on the “Download” button
- Open the downloaded installation file
- Follow the installation instructions for your operating system; Windows and macOS use different installation flows.
CapCut PC is ready when installation is complete. Now you can start editing your video
Step 2: Import Your Video Project
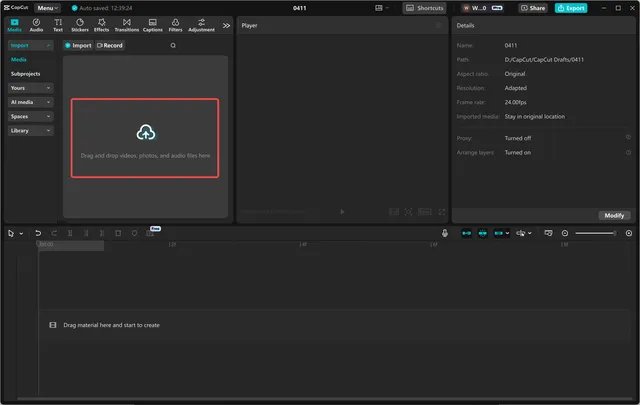
- Transfer your video elements and clips to CapCut PC
- Add your media files to the project with drag-and-drop
- CapCut PC supports many file formats
- If a file does not import, check its format and codec before converting it.
Step 3: Cut Unwanted Clips
Select an unwanted clip and delete it. To remove only a section, split at its boundaries and delete that segment. Play across the cut to check that nearby audio and overlays still line up.
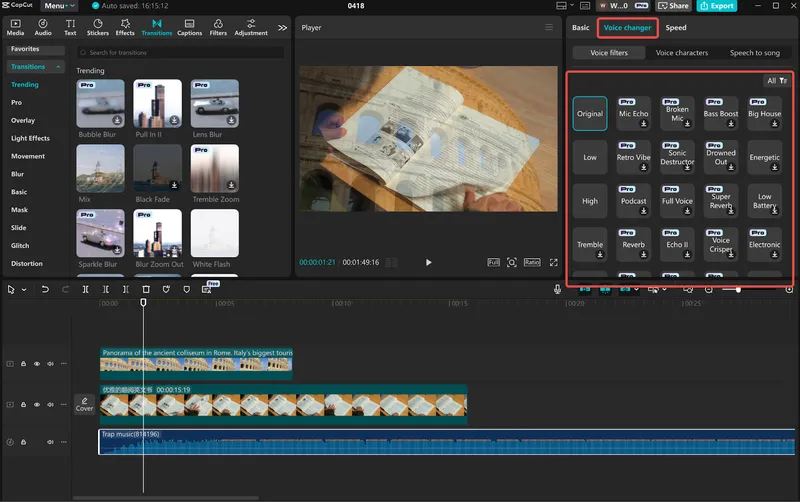
The voice changer is optional audio styling; use it after deciding which spoken clips belong in the edit.
Step 4: Finish Your Timeline
Remove leftover duplicates and check for unintended gaps.
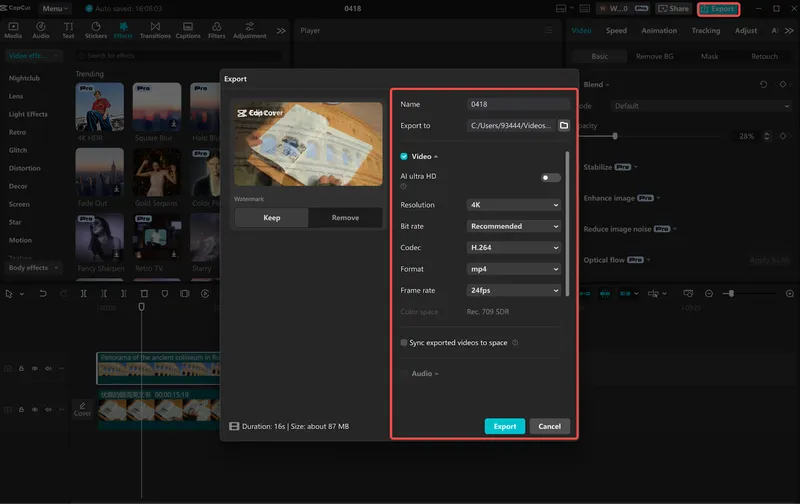
If necessary, adjust color, transition or speed settings with CapCut PC's tools. If everything is ready, save your project and export it in the most suitable format.
Other CapCut PC Features to Make Your Editing Experience Better
- With timeline zoom, you can adjust frame-by-frame with precision.
- Use transitions where the change between clips needs one, rather than adding them to every cut.
- Stabilization can help with shaky footage; check the crop and any access requirements before applying it.
Last Words
Export a short section containing a cut, a caption and an audio change before rendering the whole video. Check that the exported version matches the timing on your timeline.
Related Articles:Color theory in video editing, Best Tools to Convert from MP4 to AVI